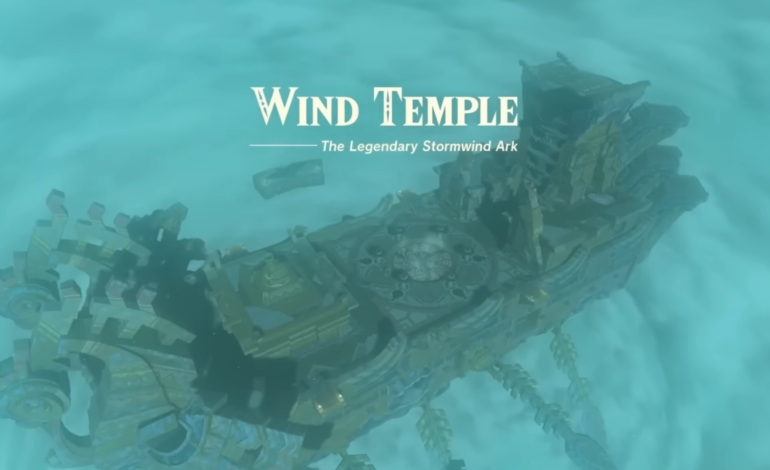
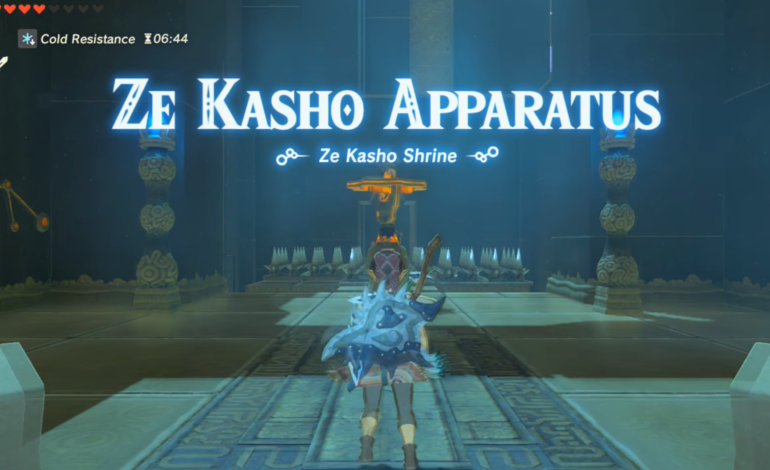
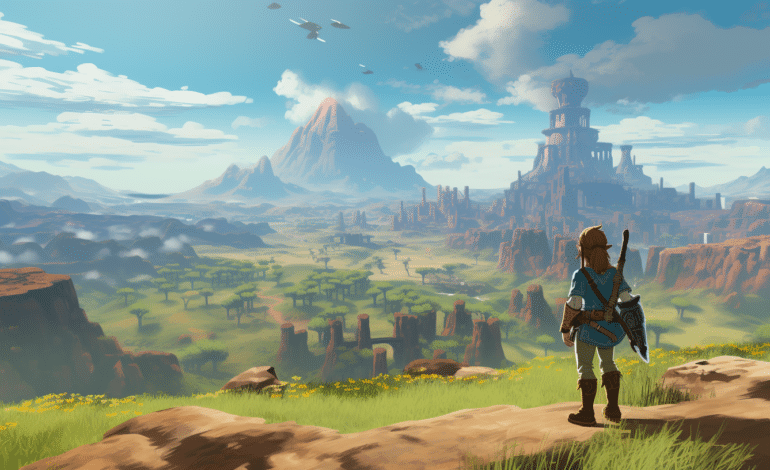
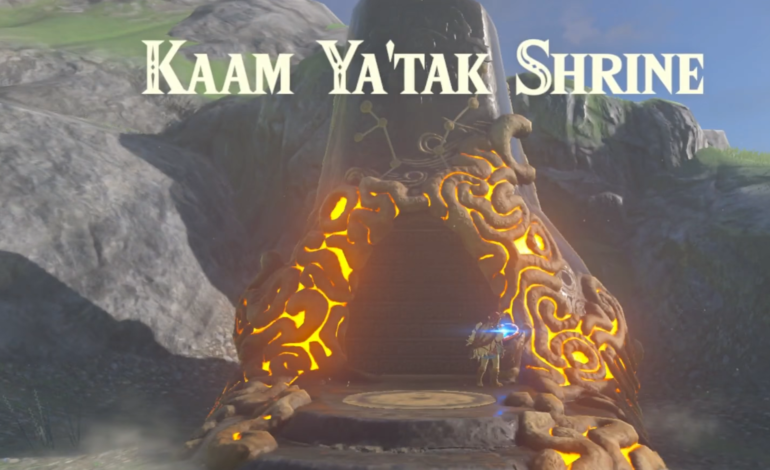
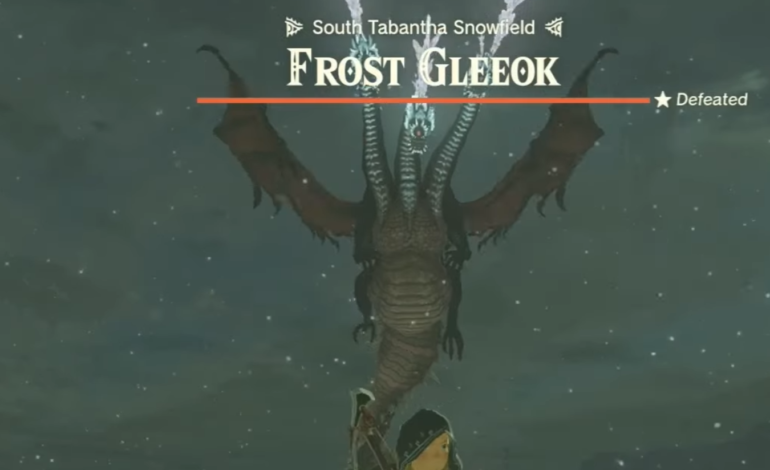
In your exciting journey through “Tears of the Kingdom,” you’ll encounter the legendary Wind Temple, situated in the heart of Rito Village. Wind Temple Tears of the Kingdom dungeon is truly a Zelda classic dungeon, which brings tons of nostalgia back. It is liked by both old and new players alike in this new Zelda installment! But, this iconic location is not just any ordinary place; it’s a labyrinth filled with perplexing puzzles and formidable challenges.
To assist you in navigating this elaborate maze, this guide we carefully crafted to detail every challenge and puzzle you’ll encounter a long the way. We’ve got strategies and invaluable tips to ensure your victory navigating the temple and confronting the temple’s mighty guardian, Colgera.
What is The Legendary Stormwind Ark “Wind Temple”?
The Stormwind Ark is not just any ark; it’s legendary ship that is floating above a place called Rito Village located in the Hebra region. It looks like a huge boat in the sky that at the same time is a temple. But, there’s a problem in there: a really cold wind is blowing from its center, turning Rito Village into a frozen and icy land.
When you explore one of the Zonai terminal located in Rito Village, you’ll realize the center of this sky boat can be unlocked and opened! Your mission will be to find and unlock the five turbines on this Ark to open the hatch and calm the storm (and defeat one big baddie!).
Essential Preparations for the Wind Temple Journey TotK
Before we set out to turn on the terminals, we need to make a preparations. For the inside you will not focus too much on the cold, but rather on elixirs and gear, where you will need them to defeat some of the guardians. On the other hand, the biting cold outside the temple adds another layer of complexity and challenge which requires from players to be extra prepared.
Wood and Flint: Having wood and flint on-hand is crucial within the Wind Temple. These materials will be essential for melting large chunks of ice found inside the temple, allowing players to access some optional loot that is encased in ice.
Cold Resistance Potions: While the interiors of the temple are not as frigid, the external icy surroundings make cold resistance potions indispensable.
Armor: Equipping the right armor is pivotal, providing the much-needed protection against the elements, especially in the colder external areas surrounding the temple.
Additional Supplies: It is imperative to have a well-stocked inventory of healing items and combat gear, especially within the warmer interiors of the temple, where unpredictability reigns.
Where is the Wind Temple located in TotK?
The Wind Temple is situated in Hebra, a northwestern region of Hyrule. The main storyline guides players to visit Rito Village post their inaugural trip to Lookout Landing.
Getting to the Wind Temple in Tears of the Kingdom and Finding Rito Village
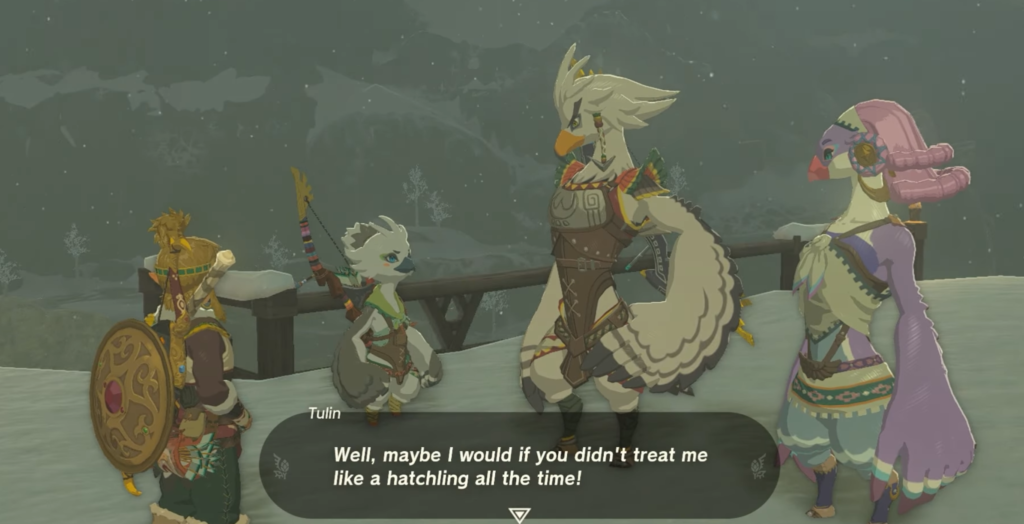
Players should be prepared for the chilly climate of Rito Village with the items we mentioned above. The cold environment in the village is the result of an overarching storm, impacting mobility due to reduced temperatures. Tulin, the sole Rito capable of navigating through it, needs to be located. To achieve that, you will need to speak with Harth at the Hebra Trailhead Lodge, north of Rito Village, and travel the mountain path to Hebra South Summit Cave. When you exit the cave you will find Tulin there. He will give you a quest to defeat some nearby enemies and retrieve his bow.
Tulin will be grateful and he will join you in your quest to conquer the Wind Temple dungeon. His main help will come from his Power of Wind ability (something similar like the ability that you get from Revali’s Gale in “Breath of the Wild”). This ability propels players further as they glide and can be reused after a brief recharge period.
Unlocking the Turbines: Mastery and Teamwork
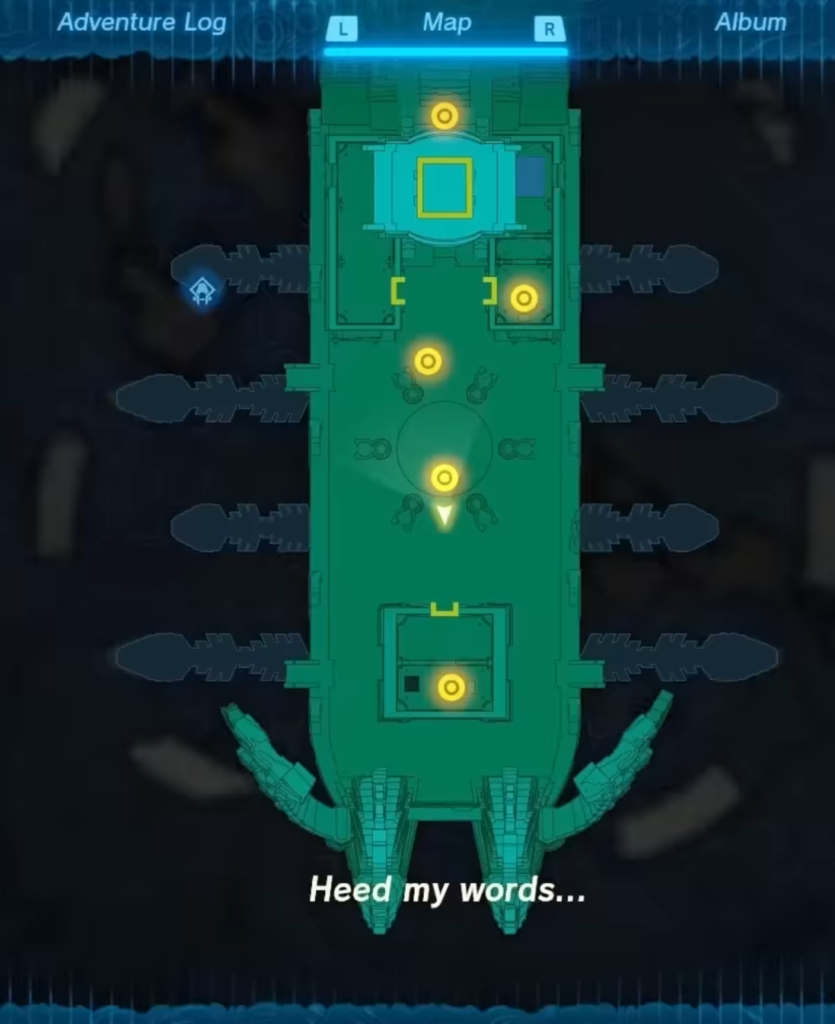
Navigating through the Wind Temple involves unraveling the mysteries of five unique turbine locks, each presenting its set of challenges and requiring an amalgamation of skills, teamwork, and strategy. We have Five turbines to unlock and together with Tulin it can be achieved easily.
First Turbine Lock (B1 Lock North): Maneuvering and Wind Power
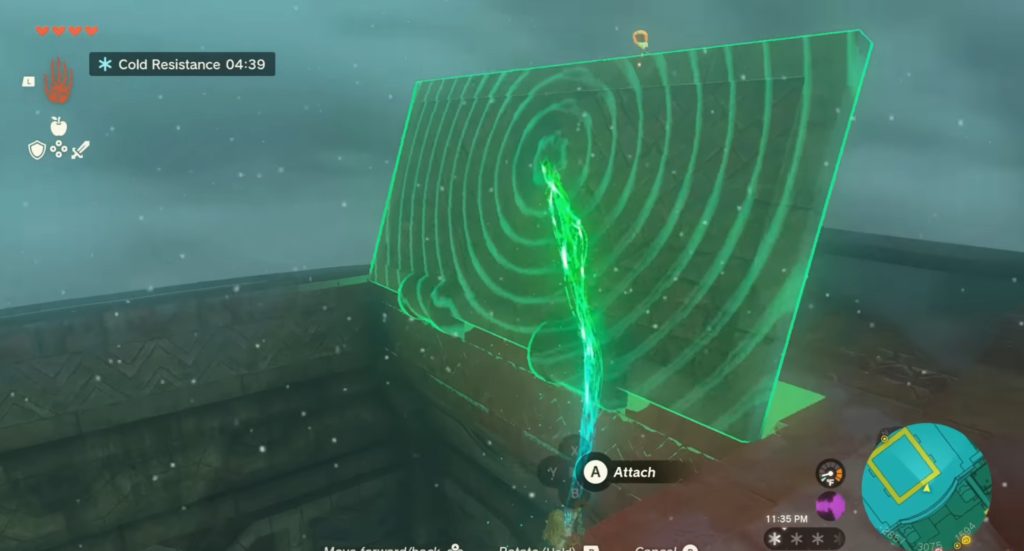
To begin turning on the first turbine, look for the huge air flow in the middle of the ship and use it to float up, going towards the north. You’ll find yourself on the topmost section of the ship.
There, you’ll see two big wooden doors that lead to the lower part of the ship. Link can use his special Ultrahand power to swing open the right door.
Then you need to jump inside. Caution Alert! – be careful of the red lasers as you descend, they can really hurt you! While making your way towards the bottom, open and close your glider to avoid the lasers and make sure you don’t get hurt when you land.
Once you arrive at the bottom, you can see one room there. Inside there are two ledges. To get the ledges working, Tulin has to hit it with wind so a gear starts turning. Bonus tip: Look on the south ledge; you’ll find a chest containing a Soldier III blade!
Now, use the air current to go back up to the middle part of the ship.
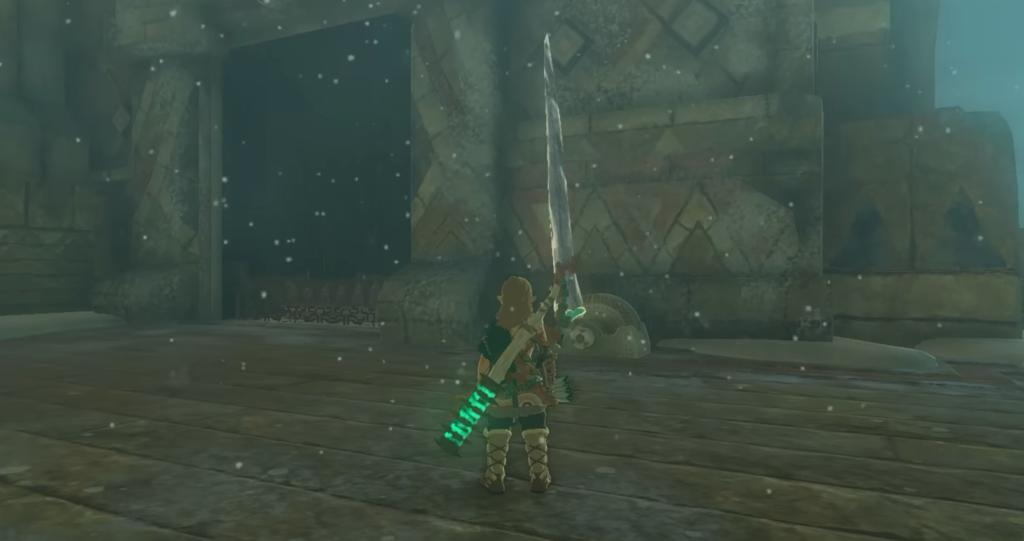
Second Turbine Lock (1F Lock East): Puzzle Solving and Lever Manipulation
First, head to the middle of the ship and go north. You’ll find two rooms that are locked.
Use your cool Ultrahand ability to pull the lever and open the door to the left room. Inside, there’s a construct! Defeat it and you’ll get a chest with a sparkly opal inside!
Now, look to the right room. There’s another door, but oh no! The lever is broken. It’s Ultrahand time again! Use it to attach an icicle that is laying on the floor to the broken lever.
Now, with the icicle-lever, open the door. You’ve found another wind lock! Have Tulin use his wind to activate it. After that, head back to the central area of the ship.
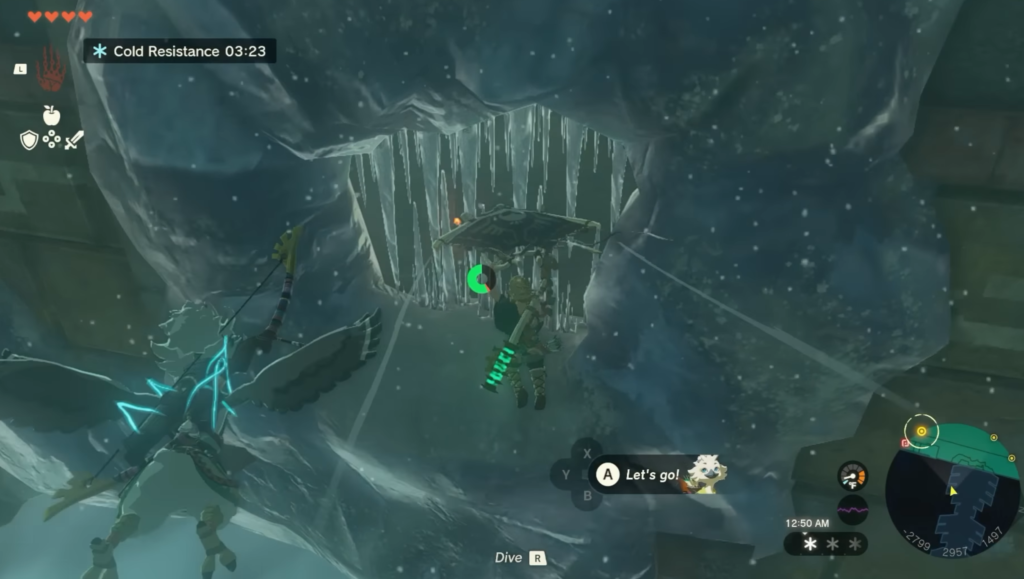
Third Turbine Lock(B1 Lock Central): Environmental Control and Combat
To get to the third turbine lock, the first thing you need to do is to jump off the east side of the ship. As you glide down, you’ll see platforms and bouncing boats below. Also, watch out! There’s a cannon on the side of the ship shooting cannonballs at you. Be quick and dodge its attacks while you make your way down!
As Link descents, you’ll need to look for a door that is covered with icicles. You need to use a red Chuchu jelly to get rid of the icicles, but if you have bomb arrows or any other explosive things in your inventory, you can use those ones as well!
Immediately, you’ll spot a chest trapped behind some bars on your left. Use Ultrahand to connect the icicles on the ceiling, making a long stick to grab the chest. Pull the chest to you through the hole, and voila, you get a sapphire!
Next, turn around and deal with the Keese. Use the Recall on the wheel to change its direction, letting you get to the other side. Beat the Construct and use Ultrahand on the lever to open the door. But wait! Don’t leave just yet.
Shoot an icicle from the ceiling with an arrow. Use Ultra hand to move the icicle and put them between the moving and moving gears in the ceiling. This stops the gears from spinning around!
By doing this action, you will open a gate on the side, giving you a path to the third wind lock. Switch it on and then head back to the main part of the ship.
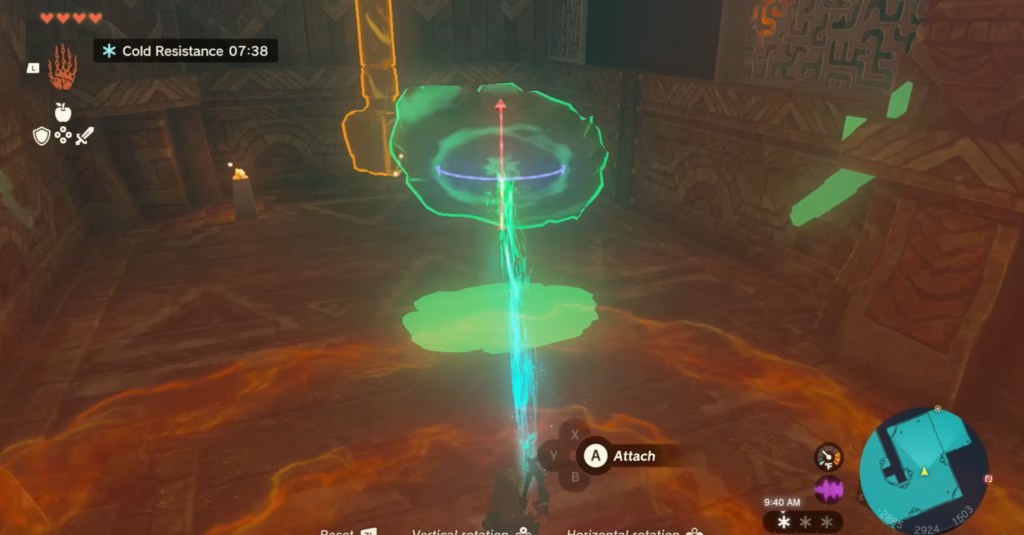
Fourth Turbine Lock (1F Lock South): Climbing, Combat, and Path Creation
Start by jumping off the west side of the ship and aim for the hole in the side of a giant wooden airship. An arrow shows that you need to float to the left.
Once inside, destroy the Construct on the left and dodge the red lasers by jumping and ducking to find a chest with a ruby inside!
Next, return to the point where you came in and turn right. There you will find and defeat two Keese. You can also use campfire to melt the ice block there. And that will reward you with ultra special time bomb capsule and a portable pot capsule.
Next, you need to use Tulin’s wind to jump across the icy gap. Use Link’s Ultrahand on the lever to open a door on the right. Keep going to the left and defeat the long-necked construct. When it’s dead, use the Ascension ability so you can go upwards. Now, head to the south part of the room. You’ll see a windmill missing its blades. Use Ultrahand to attach the four stone slabs on the floor to fix it.
After the windmill is fixed, use Tulin’s wind to open the gate and climb through.
Climb up more, defeat the construct above, and use Tulin’s wind on the fourth wind lock. Then, go back to the main part of the ship when you’re done.
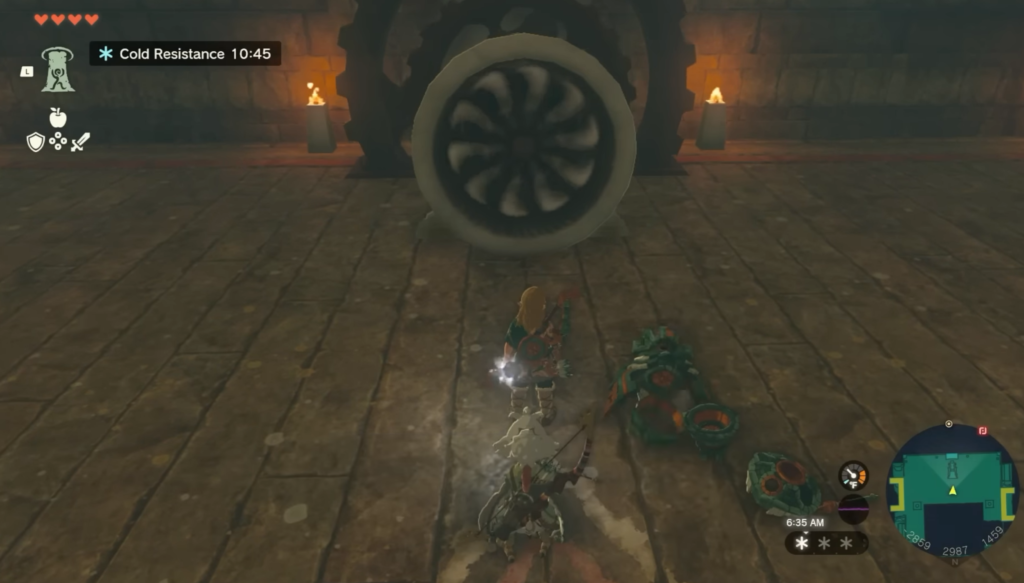
Fifth Turbine Lock (B2): Under Ship Combat and Activation
So, the last lock is just hanging out under the ship. Slide down from the east side, and you’ll see a little platform with some lanterns where you can land.
Battle the Construct, turn on the turbine with Tulin’s help, and then go back up
Once you unlock all turbines, the wind temple boss is unlocked – Colgera.
How to Beat Wind Temple Boss – Colgera!
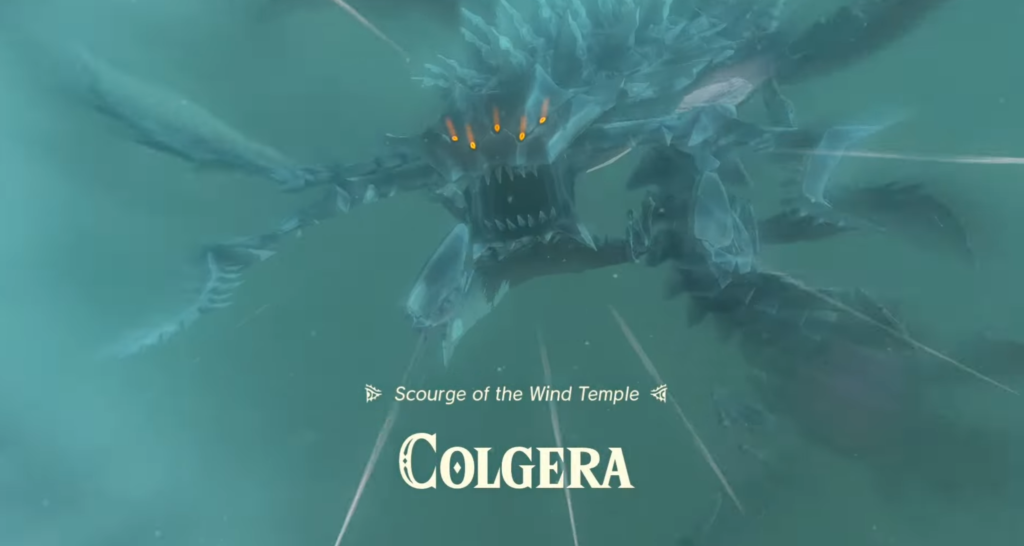
Fighting Colgera is like a dance; you gotta be smart and quick! Colgera comes out from the middle of the temple and flies really high. Players have to glide in the air, use the Gust ability, and aim at the icy spots on Colgera’s body.
It’s super important to know how Colgera attacks. He can swipe and throw icicles, so players have to be fast and smart to avoid getting hit. Using Fire Fruits on arrows can help hit the weak pink spots on Colgera’s body. Players have to aim carefully in slow-motion to break the ice and find Colgera’s weak spots.
Before the fight, players need lots of arrows and Aerocuda wings to stay in the air longer. It’s going to be very cold, so having cold resistance and health food is important.
When Colgera loses a lot of health, he gets angrier and starts using tornadoes and other cool attacks. Players have to be brave and careful, dodging and attacking back until Colgera is defeated.
Using arrows with Aerocuda wings can help hit the icy spots and the weak points beneath them. Colgera moves through portals, so players have to look around and move fast to avoid getting hit. Tulin will shout things like, “Below you!” to help out.
Players can also dive-bomb straight through the ice to save arrows and hit the weak points quickly. After defeating Colgera, players will get a Heart Container and will see a cutscene with more of the story.
After the fight, players can use Tulin’s abilities for gliding and explore the Hebra mountains freely since the snowstorm is gone.
Post-Completion Exploration
Once players triumph over the Wind Temple and halt the icy blizzard phenomena, Rito Village is finally safe, villagers can finally resume their daily chores and life. Your victory unlocks new layers to the adventure, adding new side quests and enriching explorations throughout “Tears of the Kingdom”.
Players can finally take on Tulin’s “Treasure of the Secret Springs” quest to uncover a distinctive helm and to explore areas north of the village, as the Flight Range that unlocksr “Kaneli’s Flight Training” and areas north of Hebra Peak that unlock“The Duchess Who Disappeared” quest. Selmie’s Spot also becomes a new point of interest for the players to explore.
Once you leave the Ritto Village, you continue your adventure towards the eastern road. This path offers numerous quests and reveals a large Geoglyph above the canyon, leading to quest: “Zelda’s Golden Horse” and getting a golden horse in TotK.
Upon returning to Lookout Landing and if this is your first temple you’ve finished in TotK, you will discover new main and side missions. Hestu finally shows up and it is located next to the Armor Shop and General Store towards the south. Interacting with Hestu allows players to expand their inventory, given they have collected enough Korok Seeds.
And you are not done yet. Next to Hetsu, you can find an npc named Lester. He will provide an update regarding the stable at Lookout Landing, initiating “The Incomplete Stable” side quest. Completing this quest unlocks the Lookout Landing mini stable, allowing players to register, board, and retrieve horses, albeit with limited services compared to a fully-fledged stable.
Next, located in the southeast by a stone tablet, you can talk to Wortsworth. He will tell you that he can finally read ancient Hyrulean and translate anything found in the vast world of Hyrule. This conversation unlocks “Messages from an Ancient Era“.
Also, players need to speak to Purah (she is the one who kickstarts the paraglider quest in TotK). She will give you a task to scout the other unexplored regions, like Kakriko Village and instruct you to find out more details from Atmus in the Emergency Shelter. When players get to the Emergency Shelter, where Jerri and Anson can be found. They kick-start “Who Goes There?” side quest.
Speaking to Atmus in the south near the map reveals more about the expansive world of Hyrule and its inhabitants. Players also have the opportunity to find a Goddess Statue in the southeast of the Emergency Shelter and pray if they have Light of Blessings from completing Shrines..
This post-battle exploration phase ensures a seamless, invigorating, and comprehensive gaming experience, allowing players to uncover the manifold secrets and narratives embedded within the magical world of “Tears of the Kingdom”.
Final Thoughts and Recommendations
Navigating the enigmatic corridors of the Wind Temple TotK is a journey of strategic prowess and unswerving determination. Conquering the multifaceted puzzles and emerging victorious against the formidable Colgera creates a unique experience in the epic world of Hyrule.

